4 Steps for Sealing Your Wooden Privacy Fence
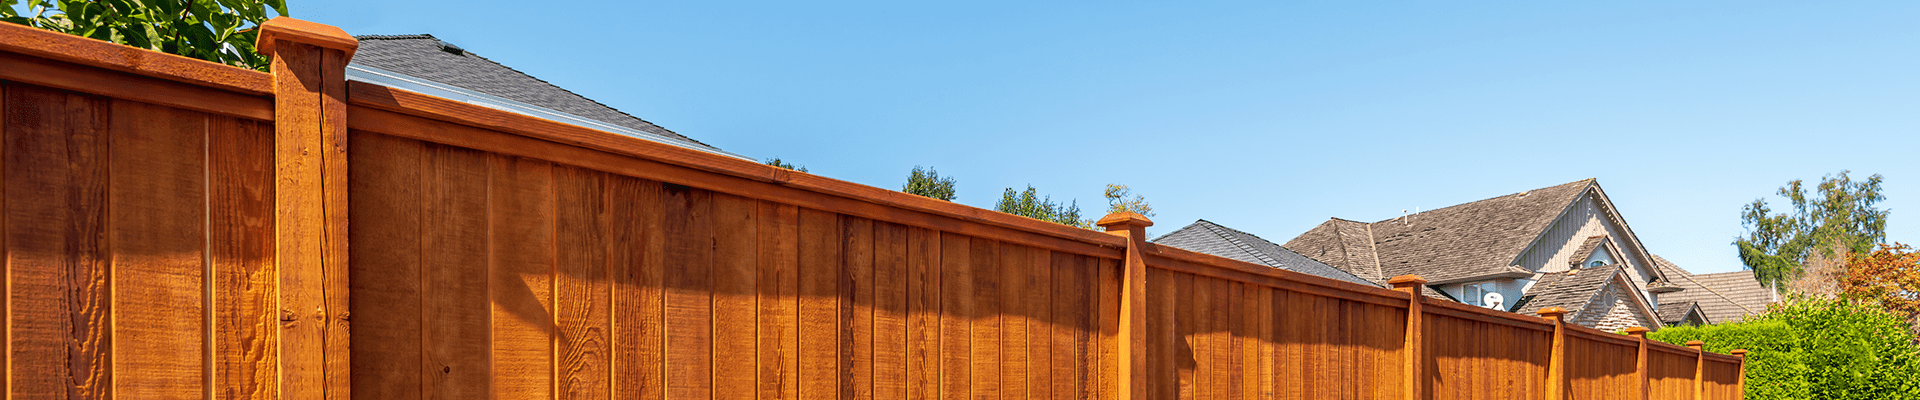
Privacy fences are a great addition to a home and when done right they can add a lot of value to a property. This Atlanta fence builder discusses with us 4 steps to sealing your wooden privacy fence, and why it’s important.
 Sealing a privacy fence is probably one of the most important steps when working with wood. This will ensure that moisture doesn’t get into the fence causing mold, mildew, and wood rot. Some sealants can also protect your fence against termites and other pests.
Here we have 4 short steps for sealing your wooden privacy fence:
- Clean your fence – It is important that debris doesn’t prevent the sealant from penetrating your wooden fence. Be gentle with raw wood fences; just use a bucket of soapy water and rags to clean all of the dirt and debris from the fence. Then, rinse with a light sprayer or water hose. Ensure that you remove absolutely all soap from the fence, as it will cause damage and discoloration.
- Remove mildew or mold – This step is for fences that weren’t sealed right away. Mix one cup of bleach, with about 4 gallons of water and scrub the fence with the bleach water. Rinse the fence with your sprayer or water hose making sure that you remove all traces of bleach.
- Allow your fence to dry! – This is something that is highly important, and most often skipped. Most sealant manufactures recommend allowing your fence to dry for about 3 days. This ensures that you’re not trapping moisture under the sealant. That would be a disaster!
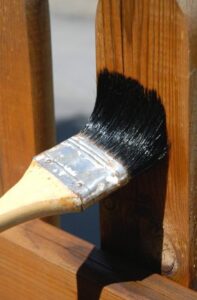
- Apply your sealer – Follow your sealer manufacturer’s instructions and apply your sealant. Most of the time they will tell you to do so with a paintbrush, or it will come in a spray nozzle container. Just choose the type that you’re comfortable with. Also, ensure that the sealant doesn’t need to be “thinned-down” before application. For the best and most consistent job, work on about 3 boards at a time.
There you have it, 4 easy steps to sealing your Atlanta wooden privacy fence!