
How to Paint a Vinyl Fence
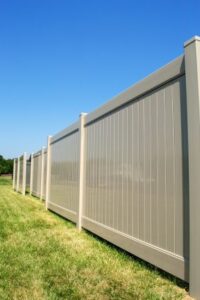
Vinyl fencing is well known for its incredible durability and long lifespan. Vinyl fences can be in place for years in the harshest environments and still look much the same as they did the day they were installed. Most of the time the only maintenance they need to look their best is an occasional spray from the garden hose. The single downside (if it can be called a downside) to a vinyl fence is that it can be in place for so long that you get tired of the color.
So, while most people would agree that painting a vinyl fence is unnecessary and not recommended, it can be done in five easy steps. Before you get started, make sure you have the required materials:
- Sealer
- Paint sprayer, or brushes
- Primer
- Water hose
- Epoxy based exterior paint
 Double check your paint to ensure it is epoxy based. That is one of the few types of paint that will stick to the surface of a vinyl fence. Others may stick in the beginning g but they will eventually peel off entirely.
- Make sure that the surface of the fence is clear of dirt and debris by cleaning it from top to bottom. Then leave it to dry completely before painting. If you are impatient, you can dry it by hand using a cloth.
- Add a coat of primer to the vinyl fence. The best type to use would be one including chemicals to retard the buildup of mildew and mold. Many times the same paint used on outside shutters would be the perfect choice for this step.
- After the primer has dried you can start on your first coat of paint. If the fence is of any length at all, you will probably want to rent or buy a paint sprayer. It will help to keep the paint nice and even while accomplishing the job in half the time of someone painting it with a brush or roller.
- Once your paint has dried you can apply the last coat which would be the sealer. To give it a shine and prevent flaking and peeling in the future, most recommend a high gloss sealer.
 Double check your paint to ensure it is epoxy based. That is one of the few types of paint that will stick to the surface of a vinyl fence. Others may stick in the beginning g but they will eventually peel off entirely.